Wayward Outpost CBRN Gear & Motion Tracker
Requisition crafts, mask key N, and mist survival for Hive and Airfield pushes.
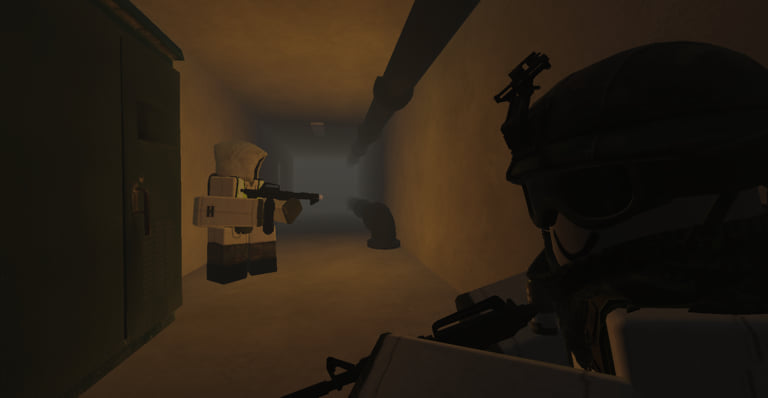
CBRN gear is the difference between a planned Hellmouth clear and a green-mist wipe montage. In Wayward Outpost, contamination is not flavor text: green mist at the Hive / Hellmouth and certain Airfield pockets punishes unmasked Infantry even when their aim is fine. This guide covers how to craft and equip CBRN protection plus the Motion Tracker at Requisition, how to use the N mask key, and which classes should bother crafting what.
Farm the cells first with C-Cells & Requisition. Spend them here. Then take the finished kits into Hellmouth Hive instead of learning mist damage the hard way. Class context for dedicated CBRN mains and everyone else sits on the Players Hub.
Who can craft CBRN gear?
Any class can craft CBRN gear at the Requisition Machine except players who already are the CBRN class with the mask fantasy built in. Community guides stress that the fabricator path exists so Medic, Infantry, Marine, and Support stacks can all enter mist without forcing every body onto one class. If you already spawned as CBRN, you are not the audience for a duplicate mask craft—spend cells on trackers, IFAKs, or LAWs for teammates instead.
Dedicated CBRN players still matter as path advisors and pacing leads. Crafting the suit on another class makes you “CBRN but cooler” for one life cycle of kit—treat it as raid tax, not a permanent account unlock skin.
Where to craft
Bravo Requisition (near medical)
Enter Bravo HQ, find the interior fabricator near the medical / stair side rooms, and deposit C-Cells plus Special Materials as the recipe demands. Clear Lurkers before you AFK in the craft menu. Craft as a fireteam: announce who needs mask versus tracker so you do not triple-buy the same item while two riflemen stay naked.
Gainsboro Requisition (Marines)
Marines can craft on the ship when Bravo is unsafe. Boat cells home, craft masks for the coastal insertion team, then dinghy toward the objective. See Marine for stockpile etiquette.
Motion Tracker (radar)
The Motion Tracker / radar craft detects Greeners and hostile motion at range before they enter melee personal space. It is especially valuable in Hive fog and dark 0.3 nights where audio alone is not enough. Some prestige spawn options later let Marksman, Delta, and related kits bring tracker fantasy from the menu at high Reputation costs—but the Requisition craft remains the public-lobby equalizer. One tracker on the point man beats five trackers in backpacks that never leave Bravo.
Mask discipline — press N
The gas mask toggle is N on PC (confirm on Controls if your session rebound keys). Rules that save wipes:
- Mask before you cross the mist line, not after the first tick.
- Call mist edges out loud so fashion-menu tourists do not walk in raw.
- If someone’s mask workflow fails, pull them out—do not argue inside the hazard.
- Combine mask on with flashlight / chemlight discipline; darker nights hide puddles and parasites.
- Remember Bloater / Benign close-range slap mechanics can mess with equipped tools—stay spaced.
CBRN gear without N muscle memory is a costume.
Where green mist actually matters
Hive / Hellmouth
Primary CBRN exam. Green mist plus Callouses, Screamers, and post-0.3 parasite tiers demand masks, Medics, Support ammo, and Radioman backup. Read the full op plan on Hellmouth Hive after you craft.
Airfield contamination pockets
Stafford Airfield and nearby crash fantasy can require CBRN for specific contaminated props or routes (community tips even gate some Humvee turret / crash interactions behind having the gear). Do not assume “airfield = open runway sightseeing.” If mist or contamination UI appears, mask up or leave.
Everywhere else
You do not need CBRN for every Common on Alpha wire. Save cells. Ordinary infected answers live on the Infected Tier List; CBRN is the mist tax, not a universal armor myth.
Squad crafting checklist
- Bank enough C-Cells / specials via Irueno PD and related nodes.
- Hold or retake Bravo so the machine is usable—or stage on Gainsboro.
- Craft masks for every mist entrant, not only the CBRN main.
- Craft at least one Motion Tracker for the lead element.
- Add IFAKs if Medic depth is weak.
- Verify everyone can hit N in a safe yard drill before the truck rolls.
- Stage armaments outside the mist so a partial wipe can rearm.
Common failures
- One CBRN player, six unmasked friends “just peeking”
- Crafting trackers for the whole lobby while zero masks exist
- Entering Hellmouth on Day 35+ mutation pressure with empty Support bags
- Toggling cosmetics mid-mist and dying to a tick you deserved
- Spending the cell reserve on solo LAW flexes the night before a Nest call
Related reading
- C-Cells & Requisition — how to fund the crafts
- Hellmouth Hive — where the gear is spent
- Players Hub — CBRN class and support partners
- Logistics — ammo and materials around the raid
- Update 0.3 — darker nights and meaner parasites in mist
Equip CBRN on purpose, toggle N without thinking, and Eleske’s contaminated pockets become operations instead of random death fog.
Frequently Asked Questions
Quick answers for Eleske operations.
Can any class craft CBRN gear?
Yes. Any class can use the Requisition Machine to craft CBRN gear except players who already have the CBRN class mask fantasy and do not need a duplicate craft.
What key equips or toggles the gas mask?
Press N on PC for the gas mask. Mask before entering green mist at Hive or contaminated Airfield pockets—not after damage ticks start.
What does the Motion Tracker do?
It acts as a radar to detect Greeners and hostile motion at range, giving your stack time to aim before close contact—especially useful in Hive fog.
Where do I craft CBRN and the tracker?
At the Bravo HQ Requisition Machine near medical, or on the Marine Gainsboro machine if you are running coastal logistics.
Do I need CBRN for normal Alpha defense?
Usually no. Save C-Cells for mist routes like Hellmouth Hive and contaminated Airfield objectives unless a specific session mutator says otherwise.