Wayward Outpost Hellmouth Hive Raid Guide
CBRN prep, mist survival, ammo sustain, and Callous threats.
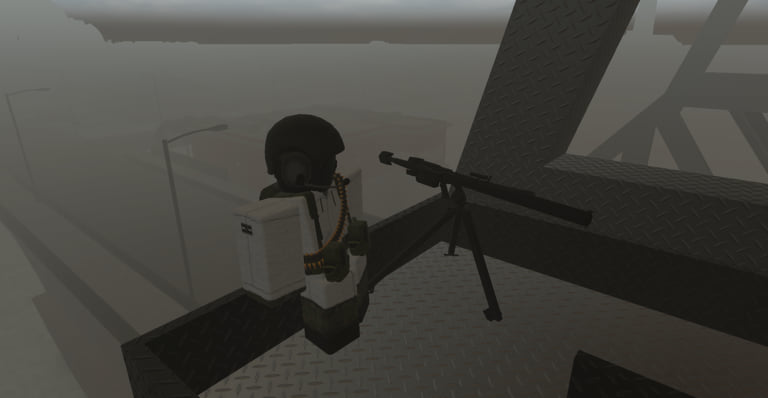
The Hellmouth Hive is the high-threat CBRN pocket players mean when they say they are “going Hive” in Wayward Outpost. This featured guide covers CBRN gear, green mist survival, sensible squad size, Support + Radioman ammo sustain, rope/materials requirements, and Callouses—the kind of special infected pressure that punishes unprepared Infantry. Watch the mid-article video, then build a kit list before you leave Outpost Alpha. If you still need basics, finish Getting Started and Controls (especially N for gas mask) first.
Hellmouth is not a beginner tourism stop. It sits beyond the early Alpha–Bravo loop that defines the first hour. Treat it like a planned operation on Eleske island: logistics staged, masks checked, roles filled, extract imagined. There are no codes that skip the gear check—see Codes.
What makes Hellmouth different
Most Wayward Outpost fights are military zombie PvE with logistics flavor. Hellmouth adds contamination logic. Green mist and CBRN expectations mean a naked sprint with a starter rifle fails even if your aim is fine. The Hive also concentrates elite threats, including Callouses, in spaces where panic reloads and missed mask toggles delete entire fireteams. You win with preparation borrowed from Logistics, not with lone-wolf highlight clips.
CBRN gear checklist
- Gas mask readiness — Know N cold. Equip before mist, not after the first tick.
- CBRN class presence — At least one player who understands contaminated kit and pacing helps the whole squad; browse roles on Players.
- Medical coverage — A Medic keeps mask mistakes and chip damage from cascading.
- Ammo plan — Support belts plus Radioman drop options beat “we will loot inside.”
- Materials / rope — Bring the traversal and fortify stock the route needs; do not assume Hive props are already set for you.
- Lights — F / T for dark interior lanes without spotlighting the whole team on approach.
If any line item is missing, delay the run. A wipe at Hellmouth also softens Alpha because your best players are walking home with empty mags—or not walking home.
Green mist discipline
Green mist is the visible “you should have masked” warning. Squad leads should call mist edges out loud. Players who toggle cosmetics menus mid-entry cause avoidable downs. When mist density spikes, slow the push, tighten spacing, and stop looting side rooms until the stack is stable. If someone’s mask workflow fails, pull them out rather than arguing inside the hazard.
Mist plus special infected is how wipes accelerate. Callouses already demand focus fire; adding contamination panic splits attention. Assign who shoots, who watches flanks, and who calls ammo before you enter.
Squad size and composition
Bring enough guns to cover angles, not so many bodies that the mist corridor becomes a traffic jam. Practical groups often look like a stacked fireteam rather than a 20-player tourist mob:
- CBRN — contamination specialist / path advisor.
- Support — continuous ammo.
- Radioman — emergency resupply and coordination.
- Medic — triage under pressure.
- Engineer — rope/materials interactions and hasty cover.
- Infantry / Auto Rifleman / Marksman — DPS and lane control.
- Cleaner / Anti-Tank — situational based on mutators and targets.
Check the Tier List for meta context, but never substitute “S-tier class” for “we brought rope and masks.” Oversized squads without roles still fail.
Support + Radioman ammo sustain
Hellmouth eats ammunition. Support exists to keep belts flowing when the stack cannot leave mist to farm crates. Radioman adds another layer: coordinated drops and radio discipline when the fight stalls. Before entry, stage armaments at the last safe node—Alpha, Bravo, or a forward cache—so a partial wipe can rearm without a full island tour.
Rules of thumb:
- Announce ammo percentages every major room.
- Reload behind cover on R after each burst cycle.
- Do not let three DPS dig into one crate while Support is dry.
- If Radioman calls a drop, assign two looters max; everyone else holds security.
Rope, materials, and traversal
Community clears repeatedly mention rope and materials as more than flavor. Traversal segments and improvised setups inside or on approach can soft-gate unprepared teams. Engineers should carry materials intentionally, not as leftover truck scrap. If a prompt needs rope and nobody brought it, abort early instead of living in the mist while someone trucks back from Abley Harbour.
This is why Hellmouth is a logistics raid. The same habits that power APS and bridges in the open world apply inside the Hive—just with less forgiveness.
Callouses and special infected
Callouses are headline threats tied to late pressure and Hive-style content. They punish clumped stacks and tunnel-vision looters. Spread out just enough to avoid multi-kills, focus fire on callouts, and keep a melee backup (V bayonet) only as emergency—not as the main plan. As the server day climbs toward 40, related special infected patterns (Ulcers, Incisors, Callouses near Alpha/APS) also change how you defend home after a failed Hive attempt—read Day 40 so a wipe does not cascade into losing Alpha.
Approach routes and staging
Do not launch Hellmouth from a starving Alpha. Sequence the night:
- Confirm day counter on M.
- Finish critical logistics (bridges, armaments stockpile).
- Kit check masks, rope/materials, Medkit economy.
- Assign roles and a retreat condition (“two downs = extract”).
- Enter on a shared countdown—no staggered hero pulls.
- After success or fail, restage Alpha immediately.
Vehicle play is limited in mist logic; leave the APC as an outer escort or staging piece unless your session clearly supports bringing armor closer. Better guns from Weapon Locations help, but CBRN prep still outranks loot FOMO.
Wipe recovery
If the stack collapses, stop ego re-entries. Recount masks, ammo, and rope. Swap exhausted players. Check whether Alpha needs defense more than a second Hive pride run. Update newcomers via the Guides Hub links rather than shouting incomplete callouts.
Hellmouth quick checklist
- Gas mask key (N) verified by every member
- CBRN + Support + Radioman + Medic present
- Rope/materials in Engineer hands
- Armaments staged outside
- Callous focus-fire plan
- Retreat condition agreed
- Post-run Alpha restock planned
Clear Hellmouth once with discipline and the rest of Wayward Outpost’s map feels smaller. Clear it unprepared and you will respawn wondering why logistics mattered more than your highlight rifle. For patch changes that touch infected or gear, skim Updates before your next attempt.
Frequently Asked Questions
Quick answers for Eleske operations.
Do I need a gas mask for Hellmouth Hive?
Yes. Green mist and CBRN conditions make mask discipline mandatory. Practice the N key before you commit to the run.
What classes should we bring?
Prioritize CBRN, Support, Radioman, Medic, and Engineer, then fill DPS lanes. Role coverage beats bringing only Infantry rifles.
Why are rope and materials mentioned for the Hive?
Traversal and setup prompts can require rope and materials. Engineers should bring them intentionally or the squad may soft-lock mid-mist.
How do we handle Callouses?
Call targets, avoid tight clumps, focus fire, and keep ammo flowing via Support/Radioman. Do not ignore flanks while everyone stares at one threat.
Should beginners go to Hellmouth in the first hour?
No. Stabilize Alpha/Bravo, learn controls, and stage logistics first. Hellmouth is a prepared operation, not a spawn sightseeing trip.