Wayward Outpost Logistics & Supply Runs
Keep Alpha fed—trucks, drops, bridges, and APS power explained.
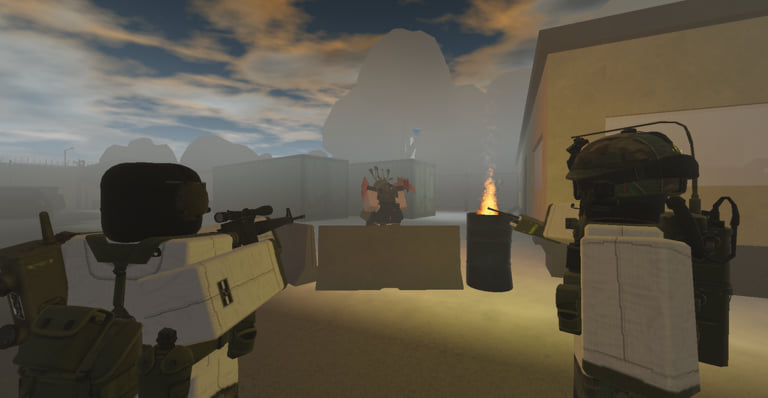
Logistics is the real endgame loop of Wayward Outpost. The experience markets itself as a military RP zombie logistics PvE shooter for a reason: firefights matter, but supply trucks, convoys, heli drops, Radioman coordination, materials, armaments, bridges, and APS power decide whether Outpost Alpha still stands at dawn. This guide assumes you already skimmed Getting Started and Controls. If you came here looking for promo codes, stop—there are none; see Codes—and put that energy into moving cargo.
On Eleske island in the Greyt Republic, the Eleskan National Guard wins by keeping nodes alive. Bravo falls again when ammo dries. APS goes dark when nobody hauls materials. Hellmouth attempts wipe when Support and Radioman never staged belts. Treat every successful delivery as a tactical win equal to a clean killstreak.
Materials vs armaments
Materials fuel repairs, fortification, bridge work, and infrastructure. Armaments fuel guns, belts, and combat crates. Mixing the two in your head causes classic new-player failures: an Engineer waiting on an empty truck, or a fireteam holding Bravo with zero ammo while the flatbed is full of build stock. Label your intent in chat—“materials to bridge” or “armaments to Bravo”—before the convoy rolls.
Inventory greed hurts the server. If you are not the driver or the on-site Engineer, help load, ride shotgun, and unload at the destination instead of pocketing crates “for later.” Later never comes when Alpha’s wire collapses.
Supply trucks
Supply trucks are the backbone between Outpost Alpha, Bravo, Abley Harbour, Stafford Airfield, and APS. Before you drive:
- Confirm cargo type (materials or armaments).
- Check the route on M—especially bridge status.
- Take a gunner or rider if the road is hot.
- Know H (honk) and L (headlights) from the controls guide.
- Stage a return plan so the truck is not abandoned in Irueno City.
Drive defensively. Stopping in the open to PvE every runner wastes the delivery window. If the truck takes damage, limp to cover and call Engineers rather than pushing a burning cab into APS pridefully. When an APC is online, use it as convoy escort—not as a substitute for cargo capacity unless your squad explicitly needs a fighting platform more than a flatbed.
Convoys
A convoy is two or more vehicles (or one vehicle plus a dismounted screen) moving with a shared destination and radio discipline. Assign roles: lead vehicle watches for roadblocks, cargo vehicle never peels for loot, trail element covers rear runners. Honk once for “mount up,” twice for “hold,” if your group agrees on that language. Keep spacing so a single special infected event cannot delete the entire column—especially as the day counter nears 40 and threats near Alpha/APS spike (Day 40).
Convoys fail when everyone brings a personal joyride car and nobody brings cargo. They also fail when the Radioman is AFK and nobody knows whether a heli drop already covered the need. Talk before you roll.
Heli drops and the Radioman
The Radioman class turns logistics from ground-only into a layered system. Heli drops can bypass broken bridges or contested highways when timed well, but they are not magic infinite ammo. Coordinate drop zones away from dense infected patrols when possible, assign loot discipline so random Infantry do not vacuum the crate meant for Bravo’s defenders, and keep a Support player ready to redistribute.
If you are not Radioman, protect the Radioman. They are priority targets in chaotic fights because a dead radio stack means the next wave arrives without resupply. Pair Radioman value with Support ammo habits on long holds and on Hellmouth Hive attempts where green mist already taxes the squad.
Bridges and route control
Bridges are force multipliers. A downed bridge turns a five-minute materials run into a nightmare foot march through infected lanes. Engineers spend materials to restore crossings; Infantry must screen those repairs. Do not park trucks on the repair site. Do not start a vanity trip to Stafford Airfield while the Alpha–Bravo link is still broken—fix the artery first.
After a bridge is up, post a light watch. Losing the same crossing twice in one session is how morale tanks on 75-player servers. Use the map (M) after every major fight to confirm the route still exists before promising a delivery ETA in chat.
APS power
APS is both a strategic node and a danger magnet. Powering and supplying APS keeps broader island infrastructure meaningful, but the site draws pressure—especially when Day 40 patterns push Ulcers, Incisors, and Callouses into the Alpha/APS neighborhood. Logistics players should treat APS runs as planned operations: cargo checked, escort assigned, repair kit ready, extract route known.
If APS is dark, prioritize materials and Engineer time over sightseeing in Irueno City. A powered APS with dry armaments still needs a second wave of ammo trucks; sequence the work instead of mixing half-loads.
Harbour, airfield, and city notes
Abley Harbour supports naval-adjacent staging and supply narratives depending on the session state. Stafford Airfield matters for heavy weapons and air logistics flavor—see Weapon Locations for M60 and related airfield loot once combat supply is stable. Irueno City is a denser fight; do not redirect critical Alpha materials into a city loot tour unless the server already holds Bravo and APS comfortably. GRS Gainsboro may factor into longer-range plans; only commit when local logistics are green.
Squad composition for logistics nights
Ideal mix for a supply-focused session:
- Engineer — bridges, repairs, APC wrench work.
- Radioman — drops and coordination.
- Support — ammo sustain at the destination.
- Medic — keeps the escort alive.
- Infantry / Auto Rifleman / Marksman — road security.
- Anti-Tank — when vehicle threats or hardened targets appear.
- CBRN — if routes skim contaminated zones.
Browse roles on Players and relative value on the Tier List. Scripts are irrelevant to legitimate logistics—see Scripts only if you are researching ToS risks, not as a supply shortcut.
After-action habits
When a run succeeds, unload completely, return the truck, and announce what the destination still needs. When a run fails, note whether the cause was bridge state, escort failure, wrong cargo, or day-40 special infected. Update your next plan accordingly. Cross-check Updates after patches that touch vehicles, drops, or map props.
Logistics checklist
- Read day number and route on M.
- Choose materials or armaments—never “whatever.”
- Confirm bridge and APS status with Engineers.
- Assign driver, gunner, and destination unloader.
- Use Radioman drops when roads are impossible—not as a first resort every time.
- Escort home; abandoned trucks starve the next squad.
- Restage Alpha before glamorous Hive calls.
Master logistics and Wayward Outpost opens up. The island stops feeling like a random zombie map and starts feeling like a war you can actually supply—and win—with your fireteam. For the wider tutorial list, return to the Guides Hub.
Frequently Asked Questions
Quick answers for Eleske operations.
What is the difference between materials and armaments?
Materials support repairs, bridges, and building work. Armaments supply combat ammo and fireteam resupply. Load the type your destination actually needs.
What does the Radioman do for logistics?
Radiomen coordinate communications and heli drop style resupply that can bypass broken roads when used with clear drop-zone discipline.
Why do bridges matter so much?
Downed bridges block truck routes between Alpha, Bravo, harbour, airfield, and APS. Engineers need materials and cover to restore them before convoys can flow.
How should we approach APS supply runs?
Treat APS as a planned op: correct cargo, escort, repair support, and an extract route—especially as Day 40 increases special infected pressure near Alpha/APS.
Can codes replace logistics grinding?
No. Wayward Outpost has no active promo codes. Sustained supply play is the progression path for map control and safer unlocks.